
10 Tips for Buying Hospital Furniture
Buying hospital furniture is not a simple catalog exercise. A bed may look sturdy in a product photo, yet its controls could be difficult to reach beside a crowded bedside table. In a busy ward, small design choices affect patient comfort, staff movement, cleaning routines, and daily maintenance. The right purchase depends on the people using the space and the tasks they perform there. Needs differ between a recovery room, a patient bedroom, and a treatment area. Details matter.
This guide offers ten practical tips for comparing hospital furniture before making a purchase. It covers intended use, patient mobility, caregiver access, cleanability, durability, adjustability, storage, delivery, warranties, and total cost. These factors help buyers ask more useful questions than “What is the price?” For example, check whether a chair’s arms support assisted transfers and whether upholstery can withstand the facility’s approved cleaning routine. Involve clinical, facilities, and procurement staff where possible; each group may notice a different concern.
Specifications are useful, but they cannot reveal every real-world drawback. A control can feel awkward, a frame may block access, or a promising finish may be harder to maintain than expected. A hands-on trial can expose problems before several units arrive. There is no perfect checklist, and priorities may change after staff test the furniture in its intended setting. Use these tips as a careful starting point, then compare options against documented needs, manufacturer information, and feedback from the people who will use them.
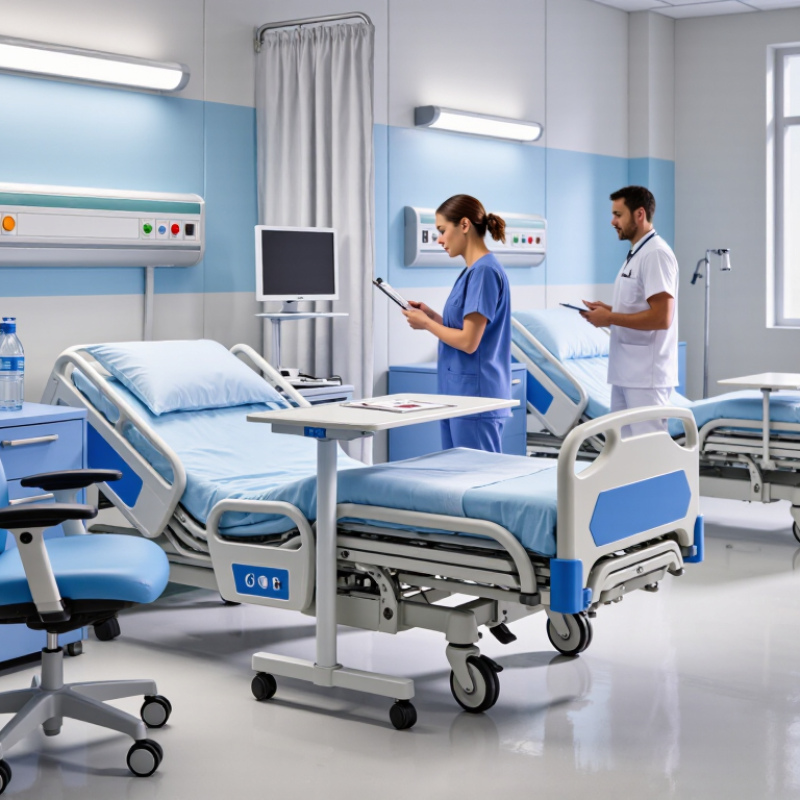
Prioritize Infection Control Against WHO’s 7%–15% HAI Estimates
10 Tips for Buying Hospital Furniture
Prioritize Infection Control Against WHO’s 7%–15% HAI Estimates
The WHO’s 2022 Global report on infection prevention and control estimates that 7 of every 100 patients in high-income acute-care hospitals acquire a healthcare-associated infection. In low- and middle-income countries, the estimate rises to 15 per 100. These figures describe broad settings, not the risk in every ward. Still, they make cleanable furniture a practical purchasing concern.
Choose sealed, nonporous surfaces that tolerate the disinfectants used in your facility. Ask suppliers for written chemical-compatibility and cleaning instructions, then check seams, joints, handles, and casters on a sample. Cracked upholstery and hard-to-reach creases can complicate cleaning. CDC environmental-cleaning guidance identifies bed rails, bedside tables, and call buttons as high-touch surfaces. Inspect these areas closely. A smooth finish helps, but it does not replace correct cleaning procedures.
Compare furniture against actual cleaning routines, including product contact times and how often surfaces are wiped. Confirm that removable parts can be cleaned without creating hidden gaps. A low price can look sensible. It may not be. Replacement costs and cleaning difficulty are easy to overlook, and no furniture choice alone prevents infection. Ask frontline cleaning staff to test a sample; their feedback may reveal awkward edges that a specification sheet misses.
10 Tips for Buying Hospital Furniture — Prioritize Infection Control Against WHO’s 7%–15% HAI Estimates
| No. | Buying tip | What to check | Infection-control relevance |
|---|---|---|---|
| 1 | Prioritize cleanability | Request the manufacturer’s cleaning instructions and confirm the surfaces tolerate the disinfectants used by your facility. | Furniture must be compatible with routine environmental cleaning; unsuitable chemicals can damage surfaces and make them harder to maintain. |
| 2 | Choose intact, non-porous surfaces where appropriate | Inspect for sealed finishes, smooth surfaces, and resistance to cracking, peeling, or corrosion under the intended cleaning routine. | Damaged finishes and exposed absorbent materials can be difficult to clean effectively. |
| 3 | Minimize seams, crevices, and hard-to-reach areas | Check joints, edges, fasteners, upholstery seams, and the undersides of seats and tables for accessible cleaning. | Complex geometry can make thorough cleaning more difficult and time-consuming. |
| 4 | Specify suitable healthcare upholstery | Review the upholstery’s cleaning guidance, seam construction, fluid-resistance claims, and repair or replacement options. | Tears and compromised seams can prevent reliable cleaning; select upholstery for the care setting and its cleaning protocol. |
| 5 | Evaluate mobility and access for floor cleaning | Check clearance beneath the furniture, access around its base, and whether casters or glides suit the room and cleaning workflow. | Furniture that can be moved or reached around more easily supports cleaning of floors and nearby surfaces. |
| 6 | Match furniture to the care area | Assess intended use, patient contact, spill exposure, cleaning frequency, and the facility’s requirements for the specific department. | A product appropriate for a waiting area may not meet the cleaning and durability needs of a treatment room. |
| 7 | Ask for evidence behind antimicrobial claims | Request test methods, the specific claim and its limitations; do not treat an antimicrobial surface claim as a substitute for cleaning and disinfection. | Product claims alone do not establish that a surface prevents healthcare-associated infections or replaces established protocols. |
| 8 | Check durability under repeated cleaning | Review care instructions, warranty exclusions, and evidence that finishes and components withstand the facility’s cleaning agents and frequency. | Worn or damaged surfaces can become harder to clean and may require repair or removal from service. |
| 9 | Plan for inspection, repair, and replacement | Confirm how damaged upholstery, casters, joints, or finishes can be inspected and serviced, and how replacement parts are obtained. | Promptly addressing damage helps maintain cleanable surfaces throughout the furniture’s service life. |
| 10 | Involve infection prevention and environmental services | Have the infection-prevention, cleaning, facilities, and clinical teams review samples, specifications, and cleaning instructions before purchase. | Early review helps ensure the furniture is practical for local protocols, staff workflows, and the intended patient-care environment. |
Context: WHO has reported that, at any given time, about 7% of patients in high-income countries and up to 15% in low- and middle-income countries acquire at least one healthcare-associated infection in acute-care hospitals. Furniture selection is one part of infection prevention and does not replace hand hygiene, environmental-cleaning protocols, or other established measures.
Sources: World Health Organization, Global Report on Infection Prevention and Control (2022); U.S. Centers for Disease Control and Prevention, Guidelines for Environmental Infection Control in Health-Care Facilities.
Related Posts
-
How to Choose Hospital Furniture for Your Facility?
-
How to Choose the Best Medical Furniture for Your Facility?
-
Top 10 Medical Hospital Beds for Patient Comfort and Care Solutions?
-
Top 10 Tips for Choosing the Best Clinical Furniture?
-
What Are the Top 10 Medical Beds for Global Buyers?
-

Top 10 Healthcare Tech Innovations Transforming Patient Care?